

Grilled hump steak: the guide from cut to crispy!


Beef hump (cupim) is a very common dish among barbecue enthusiasts! This cut, located in the back region of the cattle, is famous for its succulence.
However, there's a specific preparation technique for beef hump, called "casqueirado," a special type of cut that enhances the flavor of the meat even further. With this preparation, the meat forms a crispy crust while maintaining a soft and juicy interior.
Want to know the details of how to prepare quality beef hump? Keep reading and see how CIMO has listed the main tips for perfectly grilling this cut!

How to barbecue beef hump?
To make a very well-prepared and juicy beef hump on the grill, you need to pay attention to some important aspects.
This is because it's not so simple to work with, and any error in the process can compromise its succulence — especially if you intend to make a "casqueirado" beef hump.
Therefore, some required steps and techniques can be complex, but with the tips we'll give next, it becomes much easier to understand how to prepare the cut and produce a wonderful beef hump.
Shall we begin?
1. Prepare your seasonings
In the kitchen, every dish should start with preparing the seasonings, right? With "casqueirado" beef hump, it's no different!
With that in mind, to season your beef hump, you'll need four practically essential ingredients:
-
Salt to taste;
-
Garlic;
-
Butter;
-
Onion.
Of course, each grill master has their preferred ingredients, but the ones mentioned must be part of the preparation. And feel free to add other seasonings to prepare the beef hump on the grill with your special touch.

2. Season the meat in advance
To ensure the beef hump has an incredible flavor, season it at least one day in advance. This way, all the flavor will be absorbed by the meat, giving it a unique aroma of onion and garlic.
For some, it's advisable to marinate the beef hump in olive oil, wine, or beer to make the meat juicier and considerably more tender.
Want to know the best barbecue seasonings? We have a guide on the subject! Check it out.
3. Get the grill ready
After seasoning, light the grill for your "casqueirado" beef hump. It's important to light it a few minutes before placing your beef hump so that it reaches its maximum heat, thus cooking the piece efficiently and more quickly.
Remember to wrap the beef hump in aluminum foil or good barbecue cellophane.
Don't know how to light the grill? CIMO can help you! Click and check out the tips for getting the meat on the fire.
4. Count the correct time for the beef hump to become tender
Preparing beef hump on the grill is delicious, but the process is time-consuming. A grill on high heat takes about 4 hours to make your beef hump tender and ready.
So be patient; it's natural for the meat to take that long to truly be good, and pay attention to the grill, which should be on high heat about 60 cm from the piece.
Since we're talking about a lot of preparation time, how about complementing your reading by checking out the details of how to make a ground barbecue?
5. Slice the beef hump barbecue before serving
Once finished, remove the beef hump from the grill and slice it for your guests.
However, be very careful when unwrapping the piece from the cellophane and aluminum foil, as the vapors escaping from the wrapping can easily burn someone. So, pay attention throughout the process to carry it out safely.

How to make "casqueirado" beef hump on the grill?
There are specific techniques for preparing "casqueirado" beef hump. As we mentioned, for the cut to be considered "casqueirado," it must create a crispy crust on the outside while retaining all the succulence of the meat inside.
To make a delicious "casqueirado" beef hump, you need to follow some important steps that will be fundamental for the quality of the recipe. But even with relative effort, it's worth performing the process correctly, as it turns out sensational!
1. Use the correct knife to trim the meat
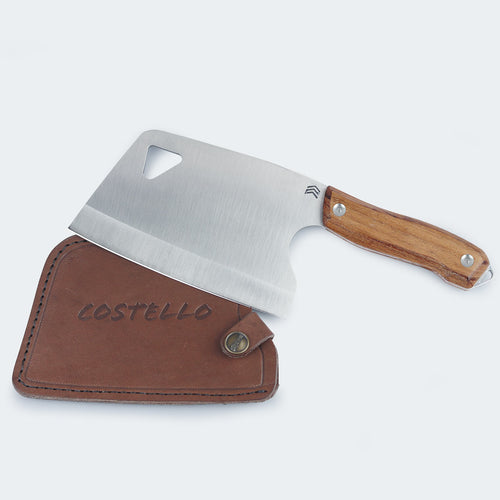
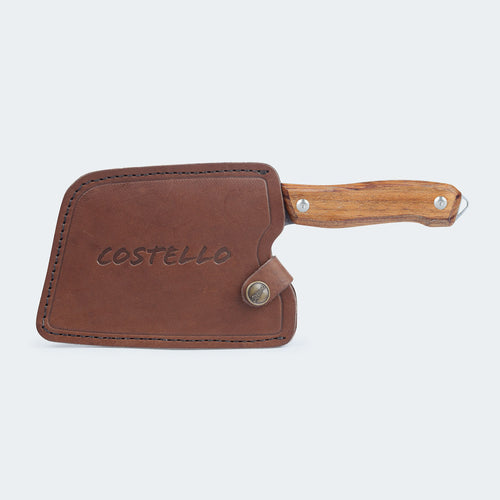
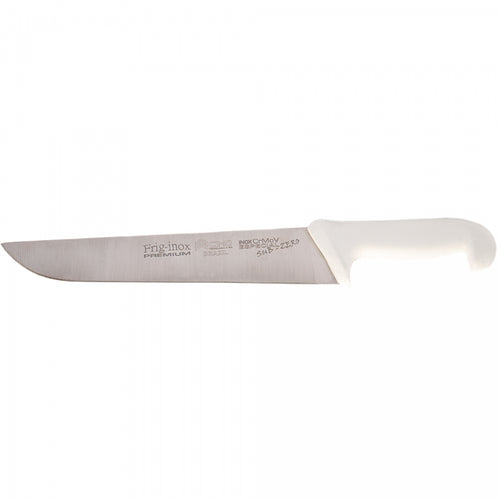
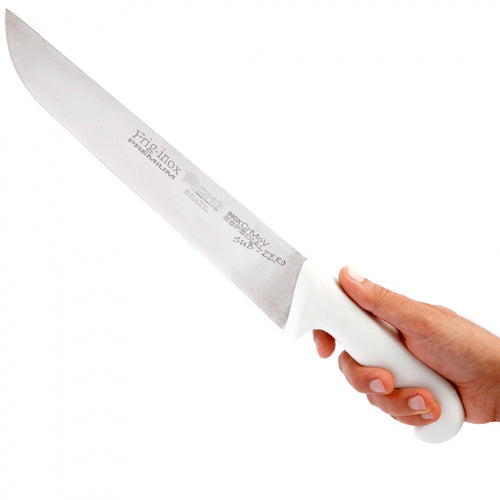
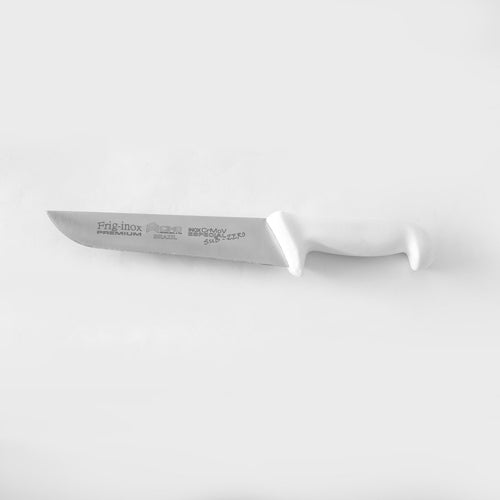
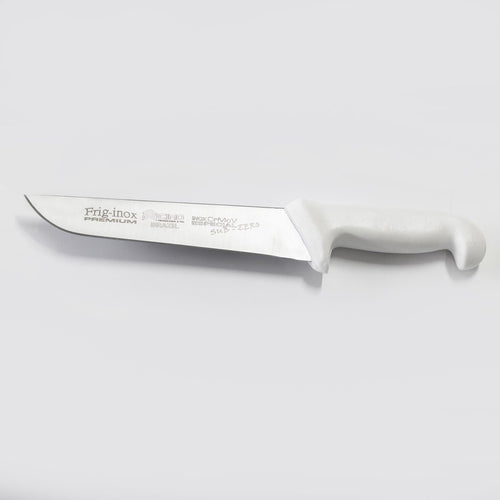
The first step is to use a knife to trim the beef hump. Not just any knife, but one specifically for barbecue and also for trimming meats.
Look for a quality one that meets your needs, like those from CIMO! Additionally, a quality knife can help you in other types of processes, such as slicing the beef hump once it's cooked.
Take the opportunity to check out the best knives recommended for barbecue!
2. Melt the butter and spread it over the beef hump
To form a delicious crust on your "casqueirado" beef hump, it's necessary to apply butter all over its surface.
The most practical way is to melt the butter and then apply it to the meat — the process can be replaced by clarified butter (manteiga de garrafa). If you wish, you can flavor the butter with bay leaves and spices.
3. Rub the beef hump with coarse salt
After applying the butter, you need to apply coarse salt. It will create the crispy crust of the cut.
Therefore, don't be afraid, you can cover the entire surface of the beef hump with coarse salt. Don't worry about oversalted, the piece doesn't tend to absorb too much salt.
4. Wrap in aluminum foil
After applying the coarse salt, it is necessary to wrap it again in aluminum foil or a barbecue-specific cellophane.
This process must be carried out carefully, so as not to remove the layer of salt that has accumulated on the meat and to ensure crispiness.
5. Take it to the grill
After performing these steps, you can take the beef hump to the grill to finish it.
Here, the same care must be taken — as if you were grilling the beef hump normally. Once cooked, just serve the "casqueirado" beef hump.
What to do so the beef hump doesn't turn out tough?
-
You need to marinate the cut, whether in beer, wine, olive oil, or even vinegar.
-
Pay attention to the grilling time; at least 4 full hours on high heat are necessary.
-
Barbecue cellophane is needed, as it promotes the cooking of the meat, leaving it tender.
These are the necessary steps to prepare a delicious beef hump on the grill that will serve all your guests!
Did you enjoy the content? Keep browsing the Cutelaria CIMO blog and take the opportunity to learn how to prepare other cuts! Here we have preparation tips for:
-
Short Ribs (Costela minga) and much more!
See you there.
Postagens recentes

 17 de June de 2026
Slip Joint Lock: tradição e simplicidade em uso | CIMO
O slip joint lock é um dos mecanismos mais tradicionais da cutelaria, valorizado...

 04 de June de 2026
Cutelaria CIMO participa da IWA OutdoorClassics 2026
CIMO reforçou presença internacional na IWA OutdoorClassics 2026, na Alemanha A Cutelaria CIMO...

 27 de May de 2026
What is cutlery? Get to know the creation of blades!
Did you know that cutlery is one of humanity's oldest ancient techniques? The...